


 Cherry pie was always a treat growing up—gooey filling, buttery crust, and that sweet, fruity aroma drifting from the kitchen.
But let’s be honest… making an entire pie from scratch isn’t always in the cards.
When you turn that same cozy flavor into a bite-sized dessert, magic happens—
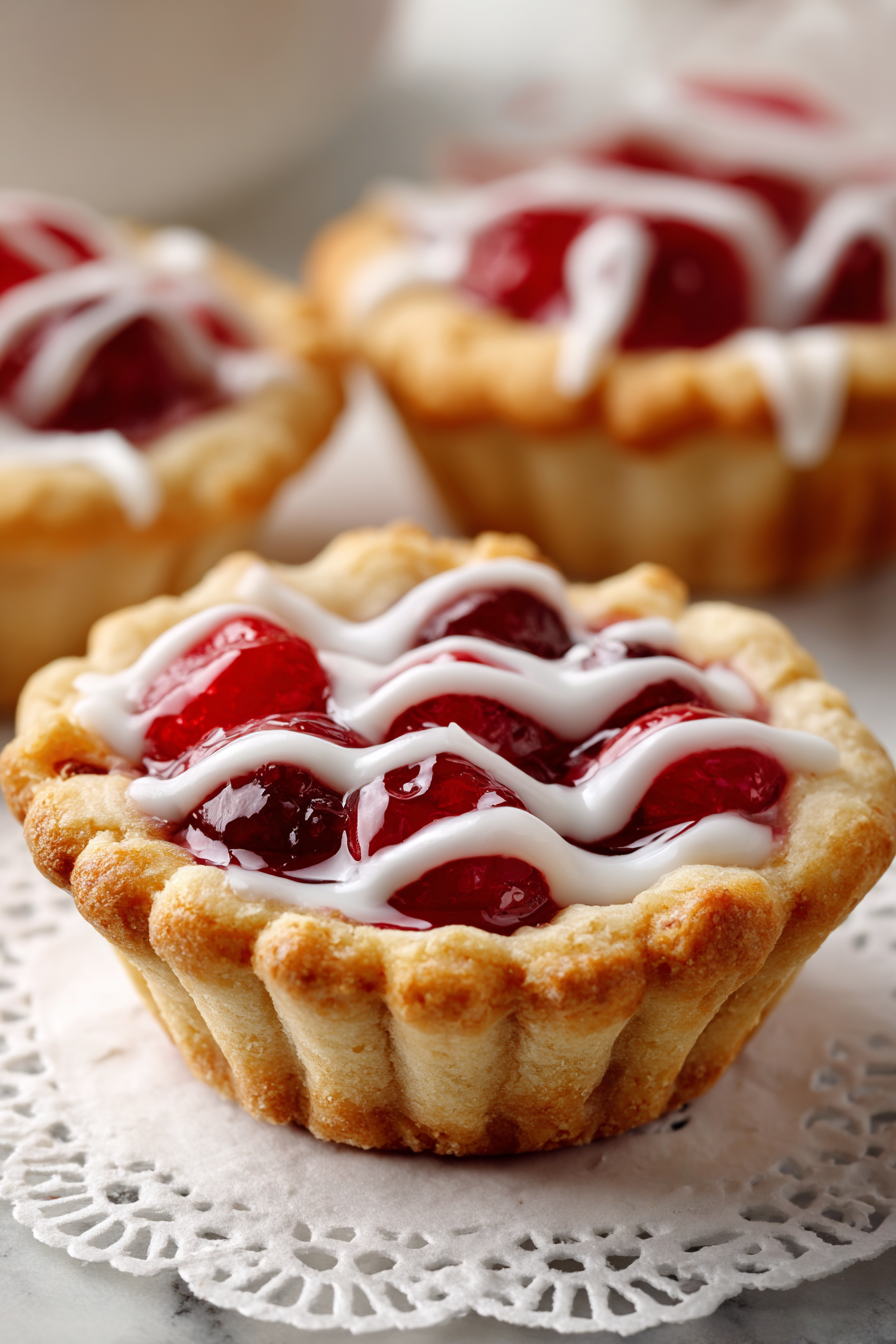
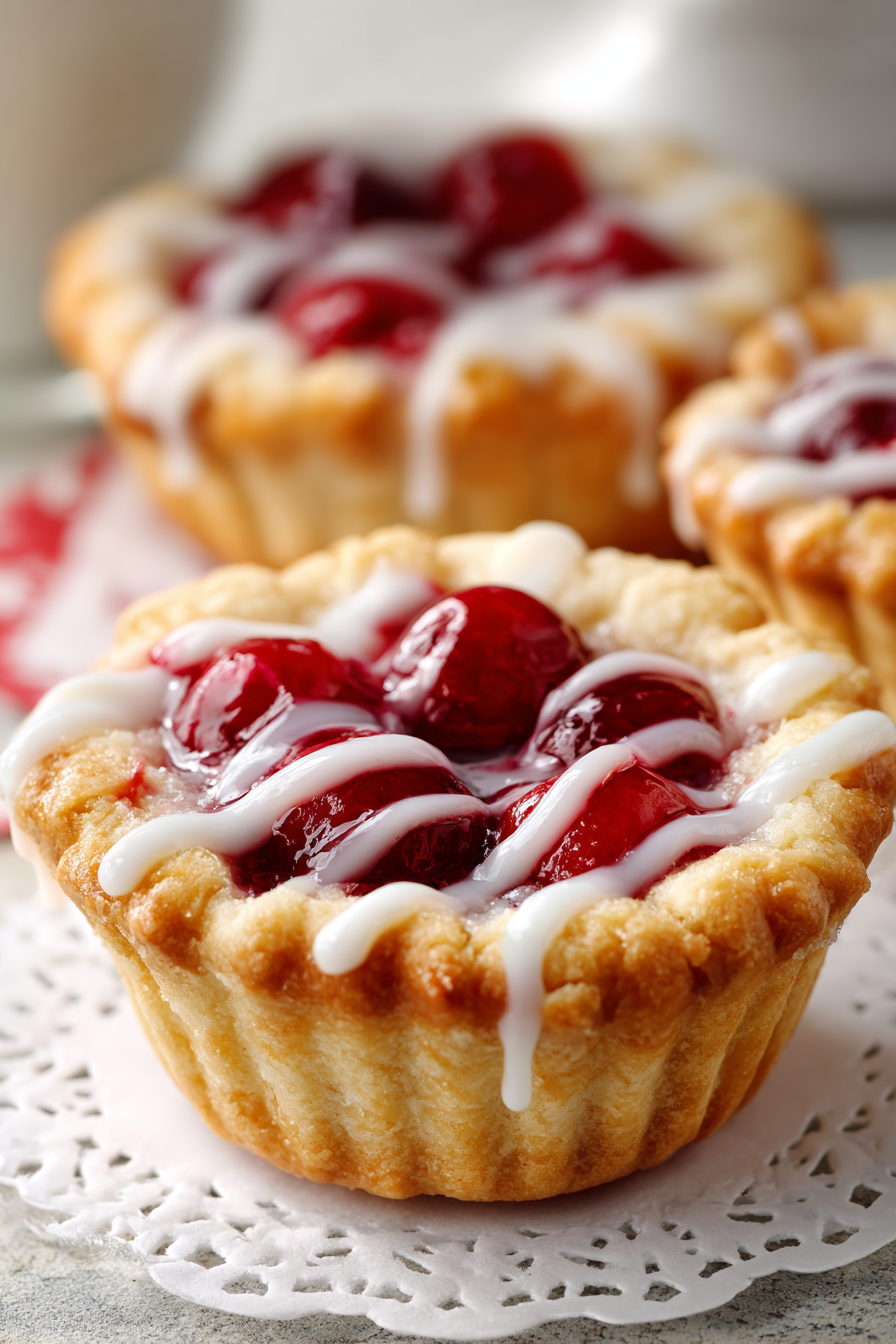
and that’s exactly what these Cherry Pie Cookie Cups deliver.
Just four simple ingredients and a mini muffin pan is all it takes
to whip up a batch of these adorable, crowd-pleasing treats.
They’re perfect for holidays, parties, or when you just need a little cherry pie in your life—
no rolling pin required.
For Cherry Pie Cookie Cups
- Sugar Cookie Dough – A 24-count package of ready-to-bake sugar cookie dough makes this recipe super quick and convenient. No mixing or rolling needed!
- Cherry Pie Filling – Use one 21-ounce (595g) can. The bright cherry flavor gives these mini treats that classic pie taste.
- Powdered Sugar – Adds sweetness to the glaze that’s drizzled on top.
- Heavy Whipping Cream – Just a little bit is mixed with the powdered sugar to create a smooth, creamy glaze.
Cherry Pie Cookie Cups
Notes
Ingredients
- 1 package (24 count) ready-to-bake sugar cookie dough
- 1 can (21 oz / 595g) cherry pie filling
- ¼ cup (26g) powdered sugar
- 1–2 tablespoons (15–30ml) heavy whipping cream
Instructions
- Preheat oven to 350°F (175°C). Lightly spray a mini muffin pan with nonstick baking spray that contains flour, or grease and flour the pan. This prevents sticking—don’t skip this step!
- Place one cookie dough ball into each cavity of the muffin pan.
- Bake for 18–22 minutes, or until the cookies are golden and fully baked.
- Let the cookie cups cool for 5–10 minutes. Then, using the back of a wooden spoon or the rounded side of a ½ teaspoon, gently press the center of each cookie to form a cup shape.
- Allow the cookie cups to cool completely before removing. Use a butter knife to carefully loosen and lift them out.
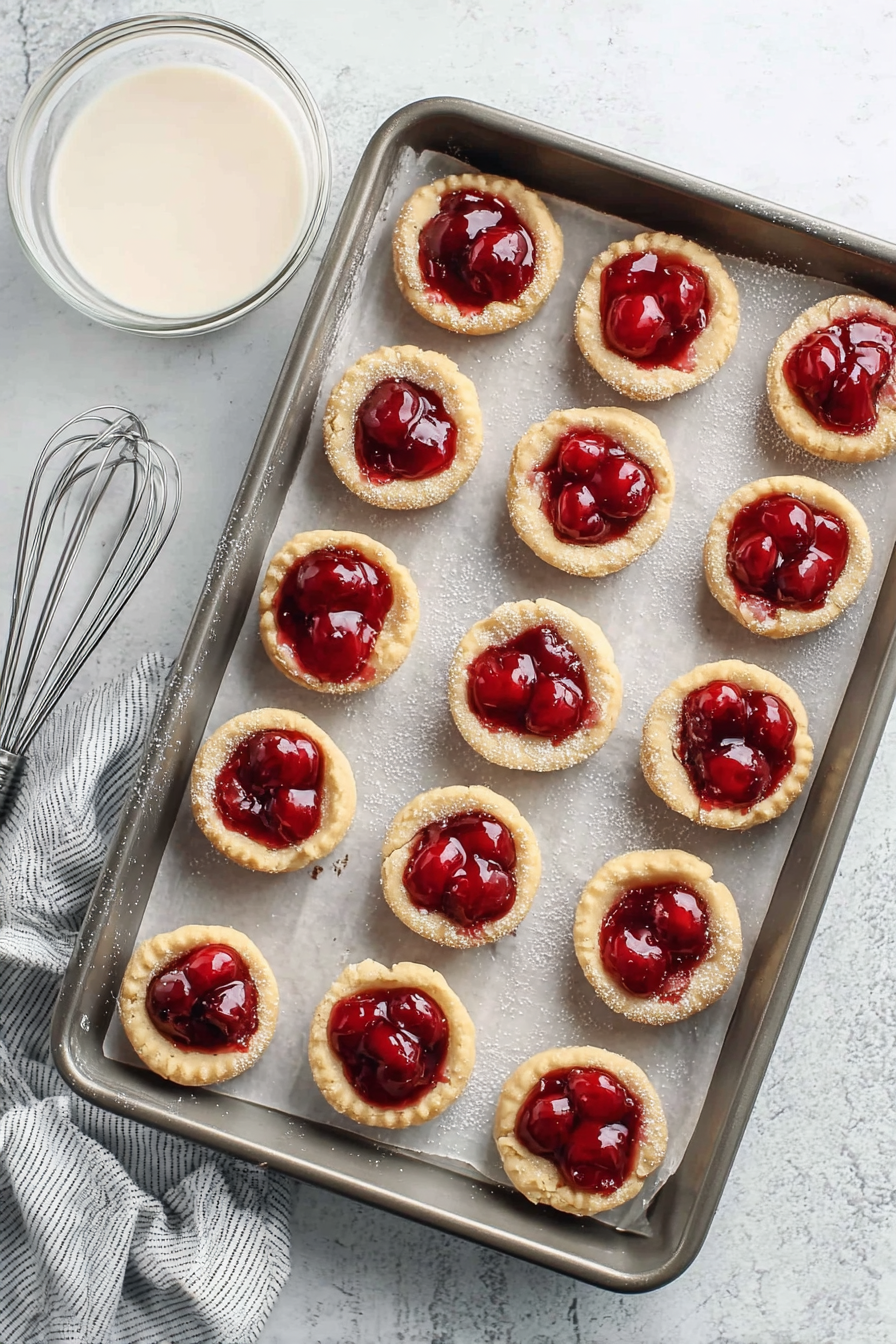
- Fill each cookie cup with cherry pie filling.
- Make the glaze: In a small bowl, whisk together powdered sugar and 1 tablespoon of heavy cream. Add more cream as needed to reach a drizzling consistency.
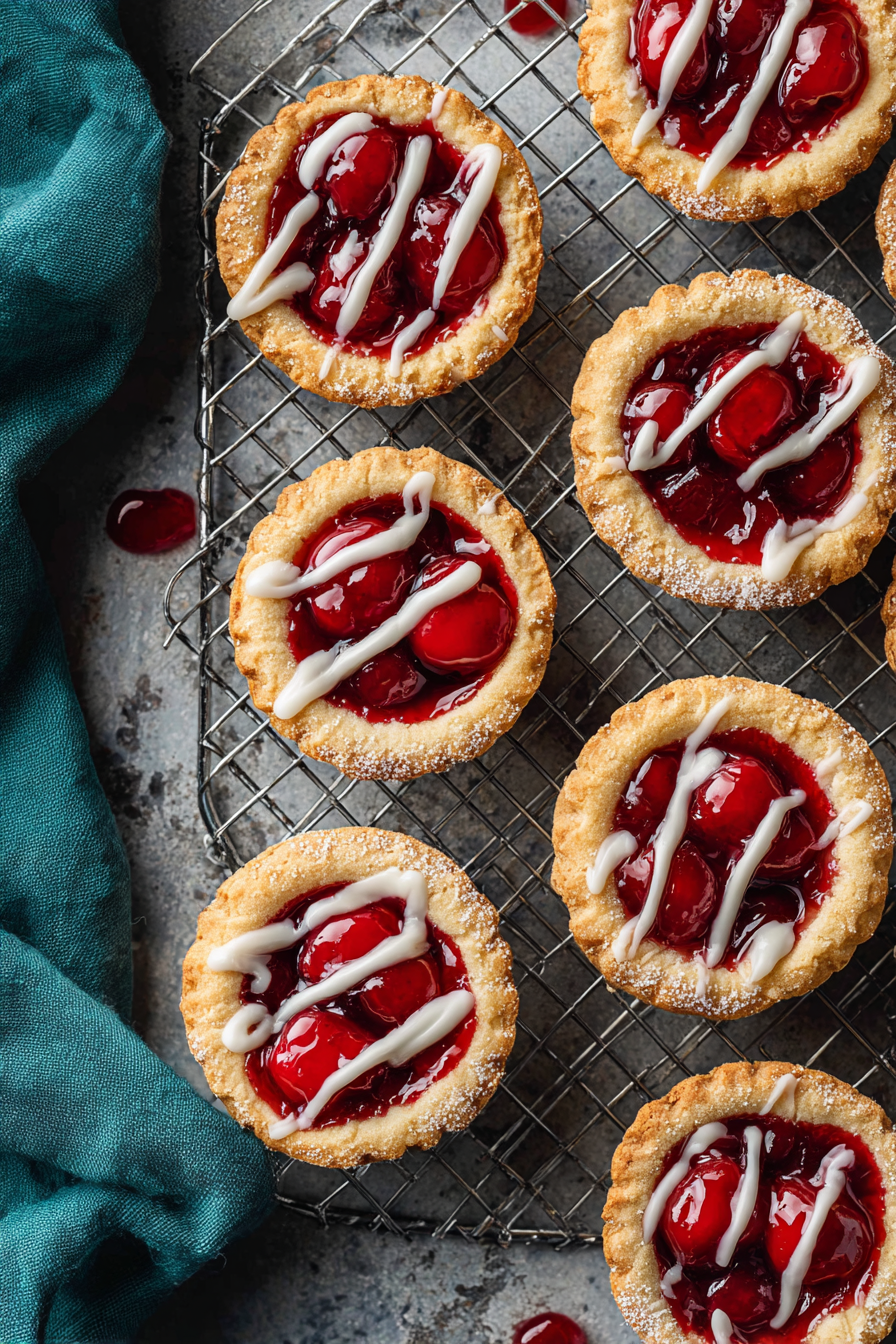
- Drizzle the glaze over the cherry pie cups.
- Store in an airtight container in the refrigerator for up to 3 days.
- Not recommended for freezing.
- Want homemade? Try using a scratch-made sugar cookie dough and cherry pie filling.
- Add a few drops of almond extract to the glaze for extra flavor.
- You can substitute milk or half-and-half for the heavy cream in the glaze, but the consistency will be thinner—start with a small amount and adjust.
Nutrition
Calories: 61 | Carbs: 9g | Protein: 1g | Fat: 3g | Sugar: 6g |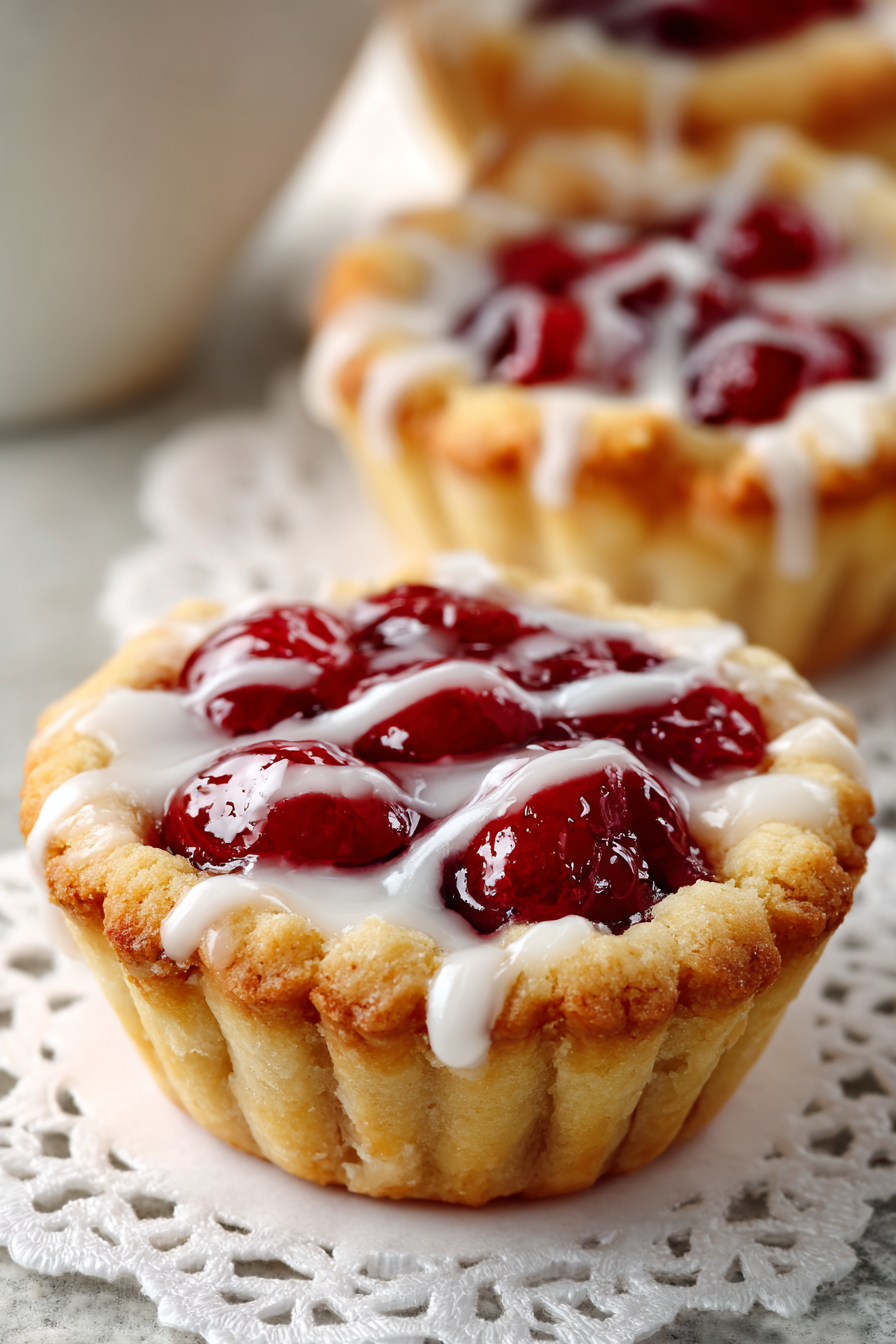
1. Can I use store-bought cherry pie filling instead of making my own?
Absolutely! Using canned cherry pie filling is a convenient shortcut that saves time without compromising flavor. Simply spoon it into the cooled cookie cups as directed.
2. How can I prevent the cookie cups from sticking to the muffin tin?
To ensure easy removal, generously spray the mini muffin tin with nonstick baking spray that contains flour, or grease and flour each cavity thoroughly before adding the cookie dough.
3. Can I prepare the cookie cups ahead of time?
Yes, you can bake the cookie cups and store them in an airtight container at room temperature for up to two days. Fill them with cherry pie filling and drizzle with glaze just before serving for the best texture.
4. What if I don’t have a mini muffin tin?
If a mini muffin tin isn’t available, you can use a standard muffin tin, but the cookie cups will be larger. Adjust the baking time accordingly, keeping an eye on them to prevent overbaking.
5. How do I create a well in the center of each cookie cup?
After baking, while the cookie cups are still warm, gently press the back of a rounded utensil (like a wooden spoon handle or a ½ teaspoon measuring spoon) into the center of each to form a well. This indentation will hold the cherry filling nicely.